These texture baking tutorials for Flatiron show you how to get started with Flatiron.
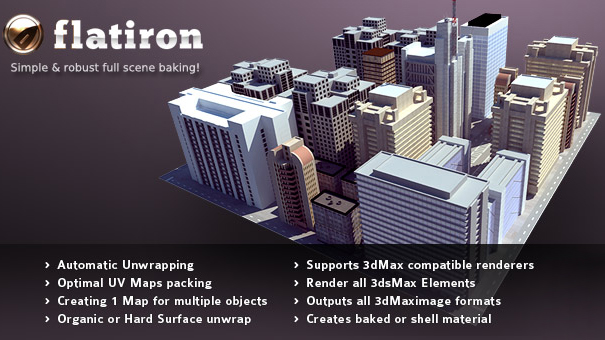
Flatiron Intro
Flatiron explained in one minute
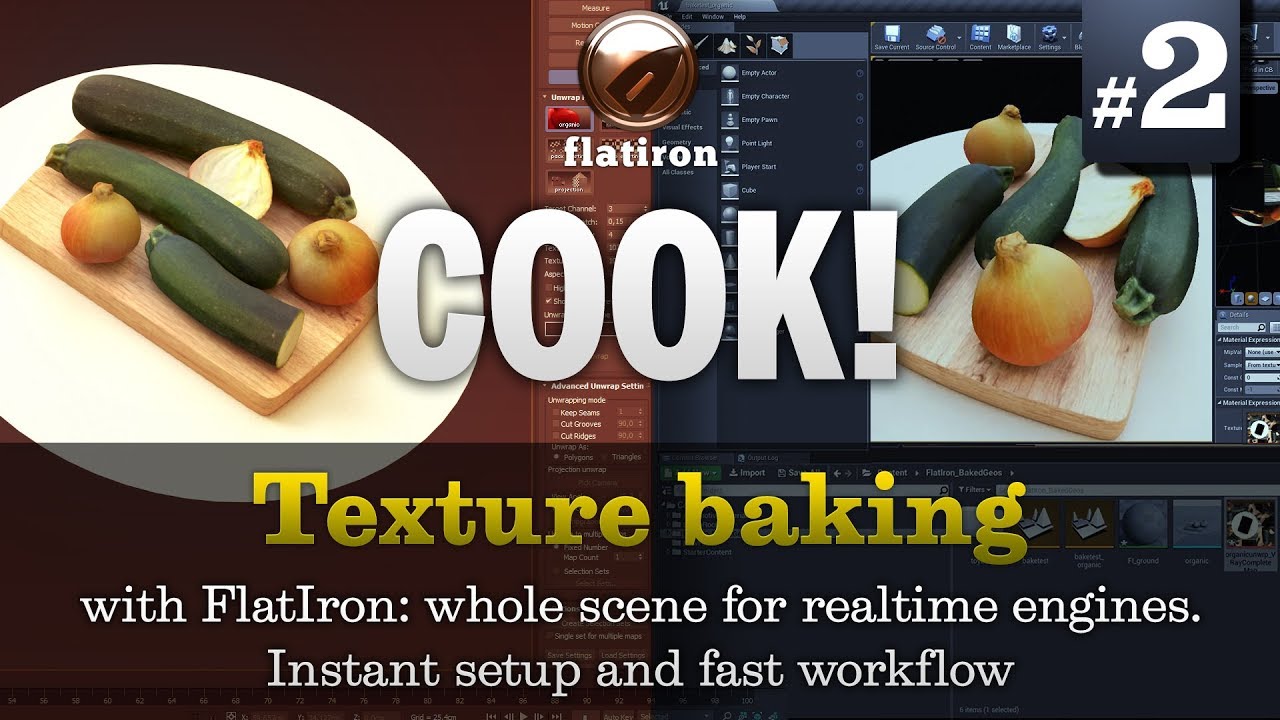
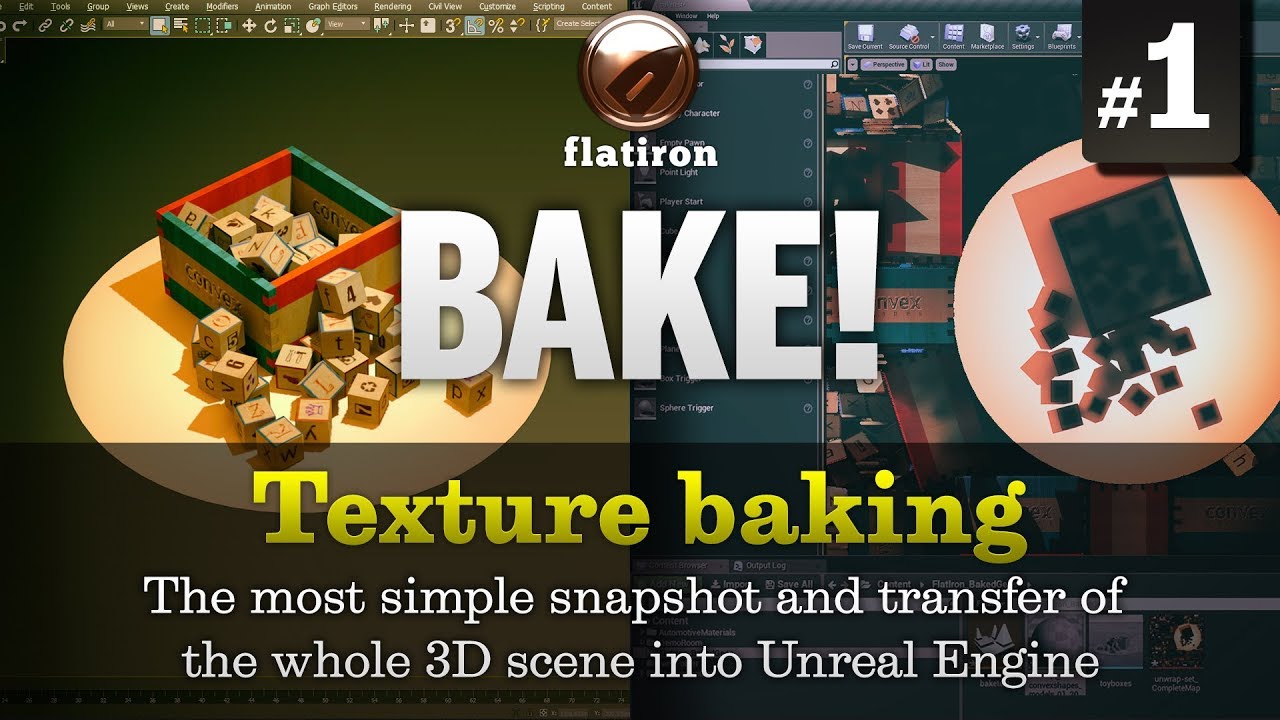
T-Bake for Realtime: #2
Tutorial for texture baking and exporting whole 3d scenes into 3D engines
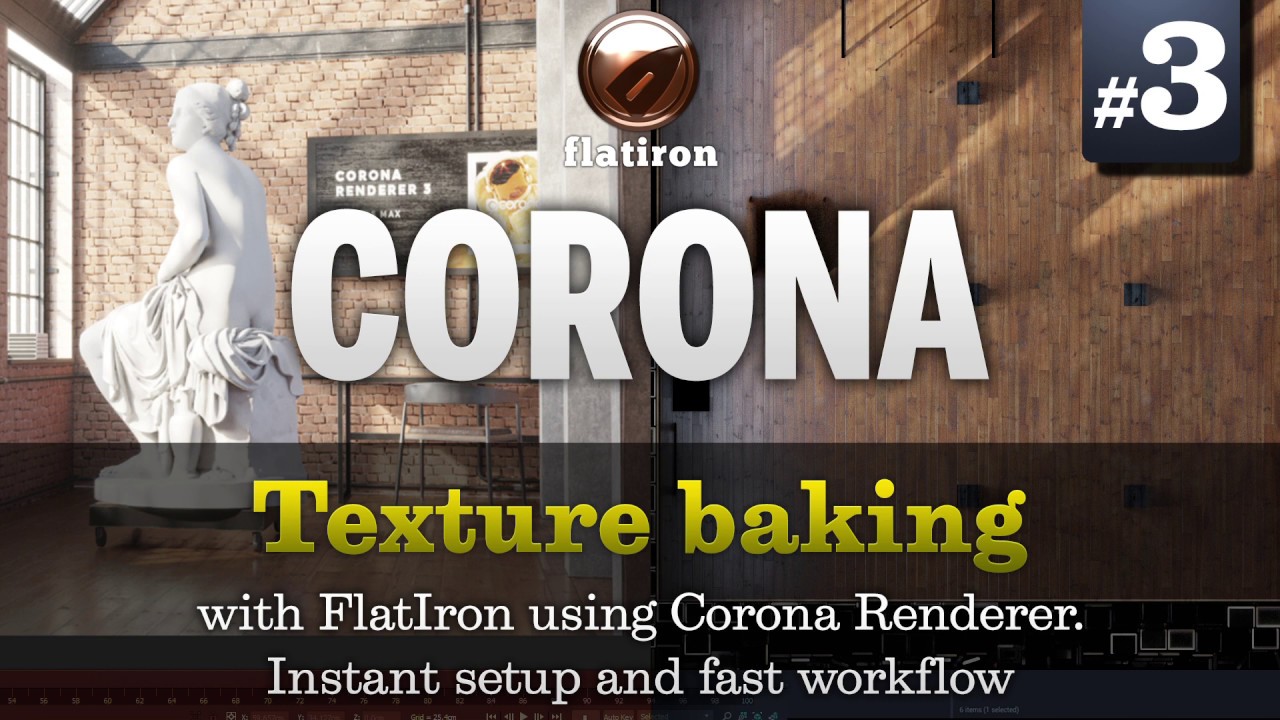
Texture Baking with Corona Renderer
In-depth tutorial for Artists using Corona renderer
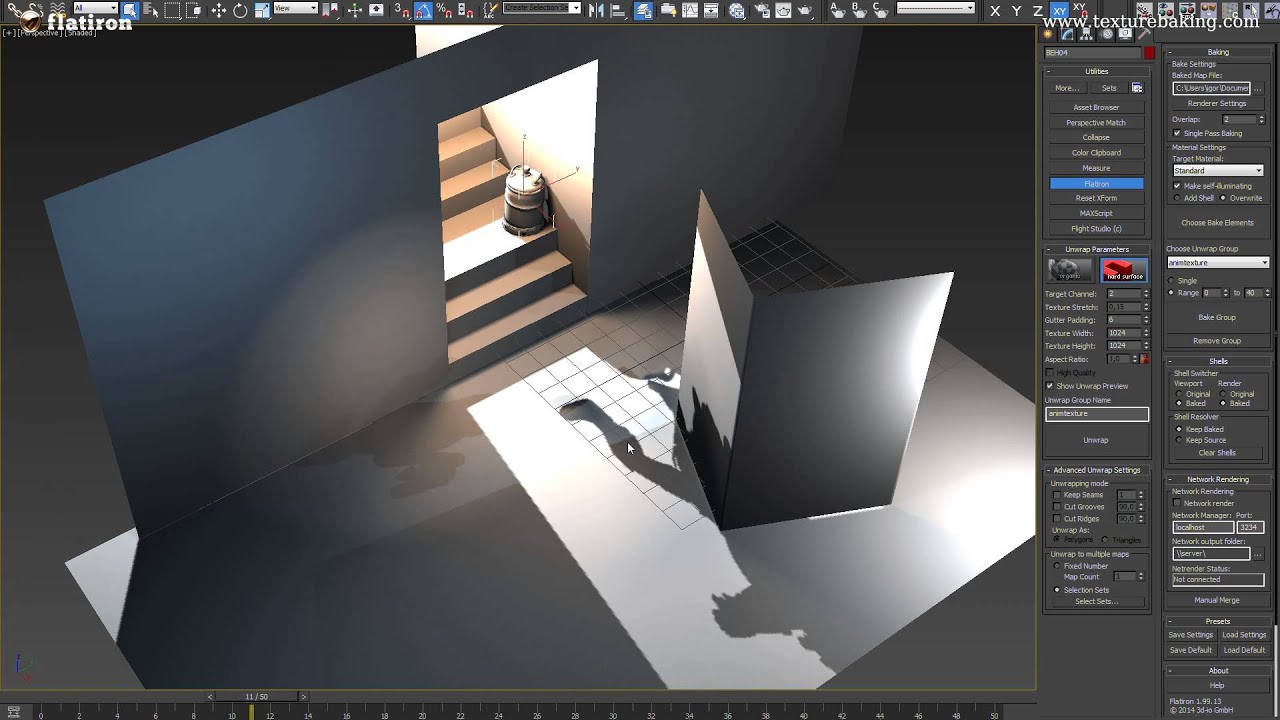
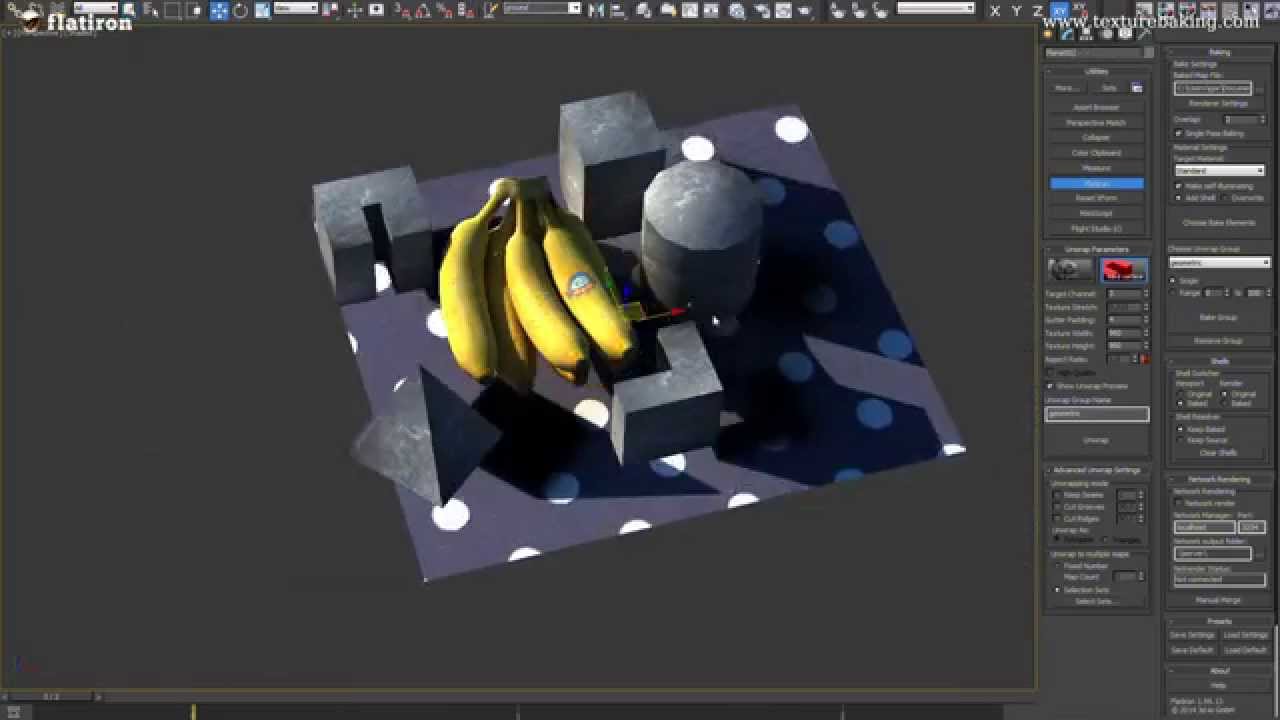
Animated Texture Baking
Flatiron 2.0 animation texture baking
Lightmap Baking
Real-time visualization
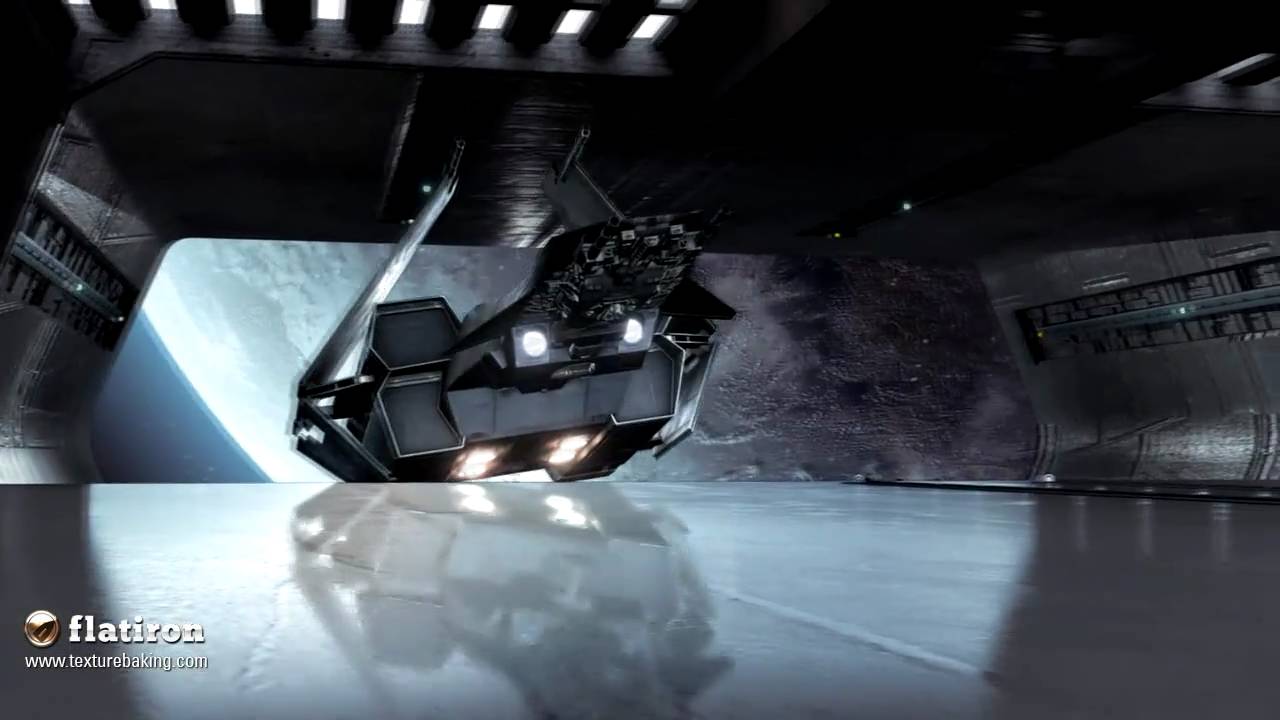
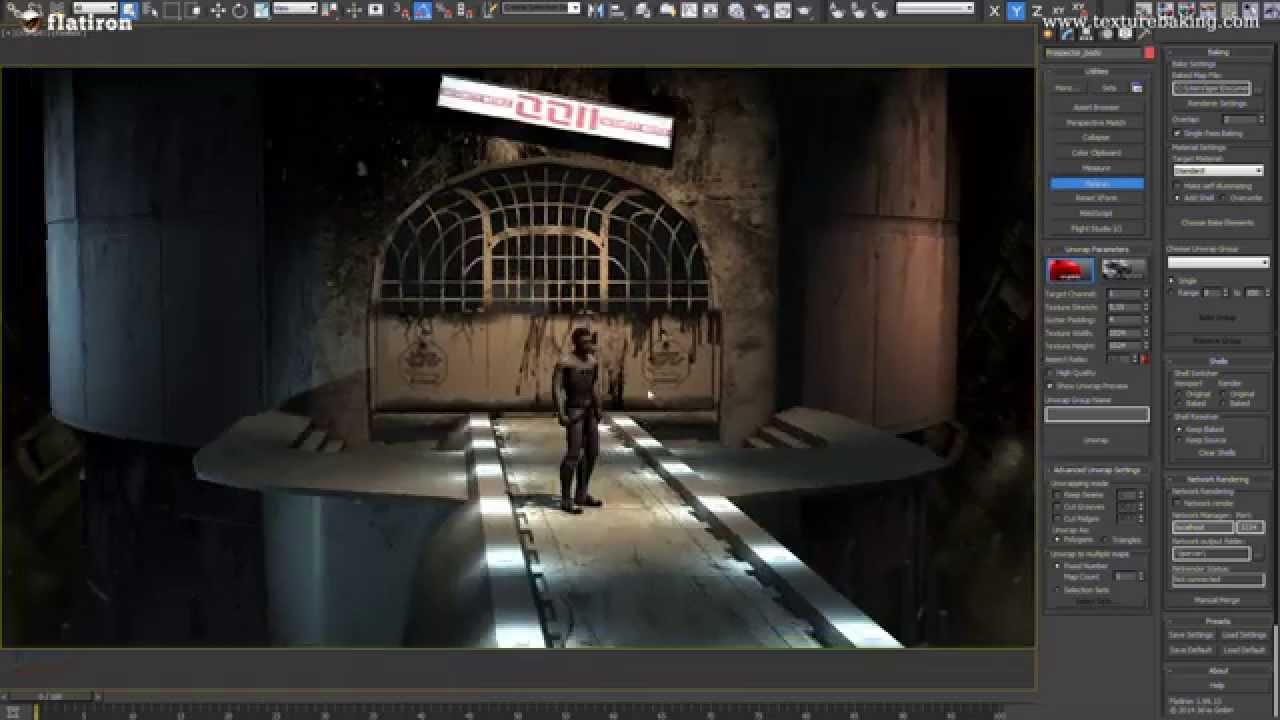
Cinematic Baking
Improving render speed
T-Bake for Realtime: #1
Tutorial for texture baking and exporting whole 3d scenes into 3D engines
Lightmap Baking
Flatiron 2.0 – New functions and improvements
Full scene baking
Flatiron 2.0 – Easy scene baking with new features
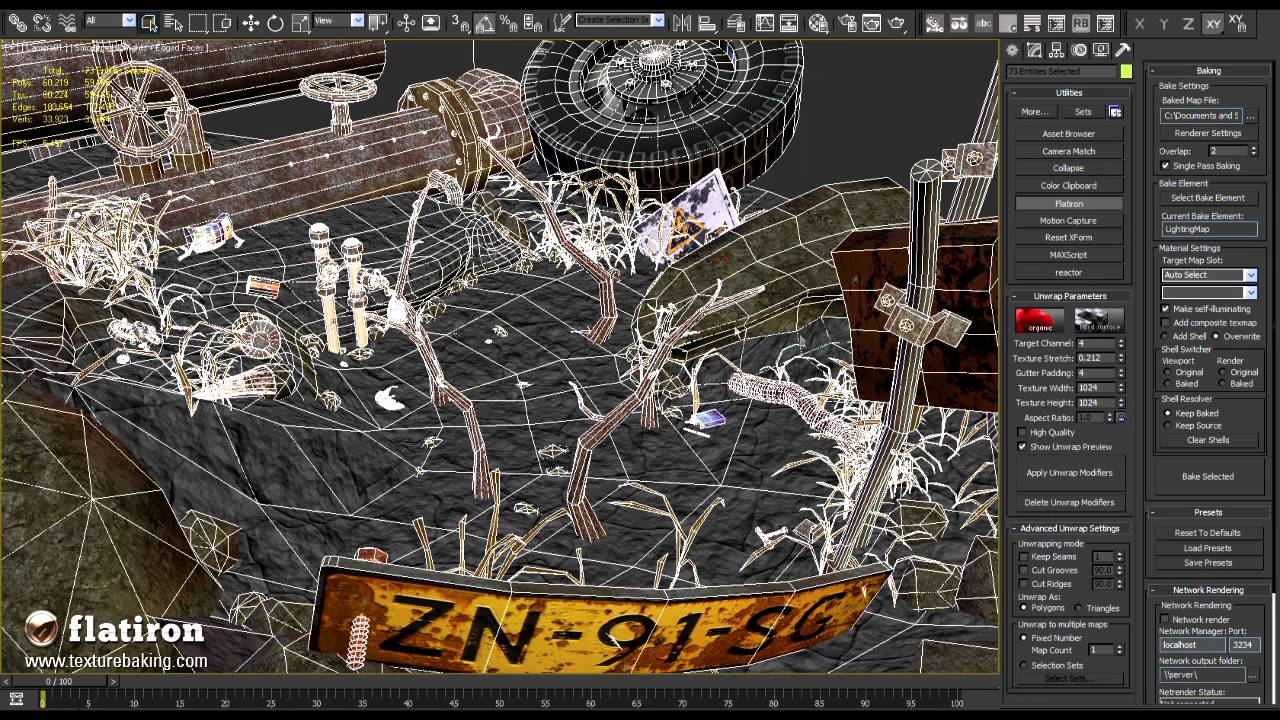
Game Level Baking
Memory efficient texture mapping
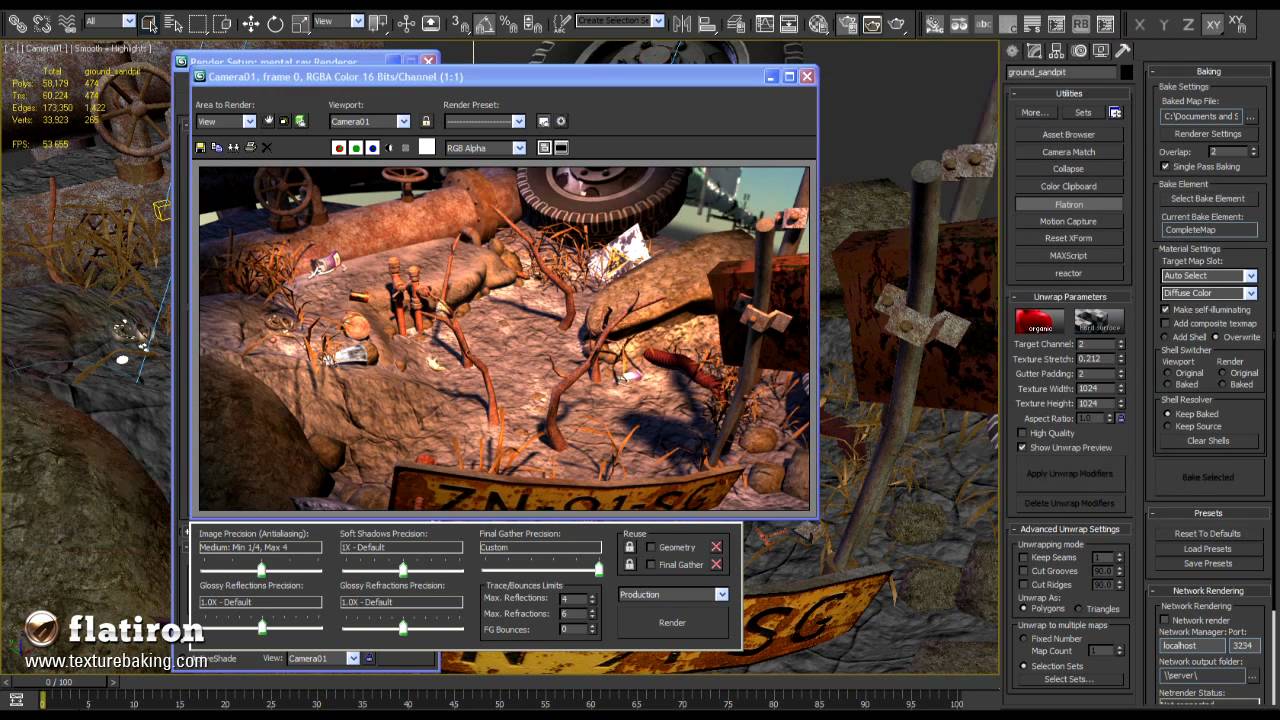
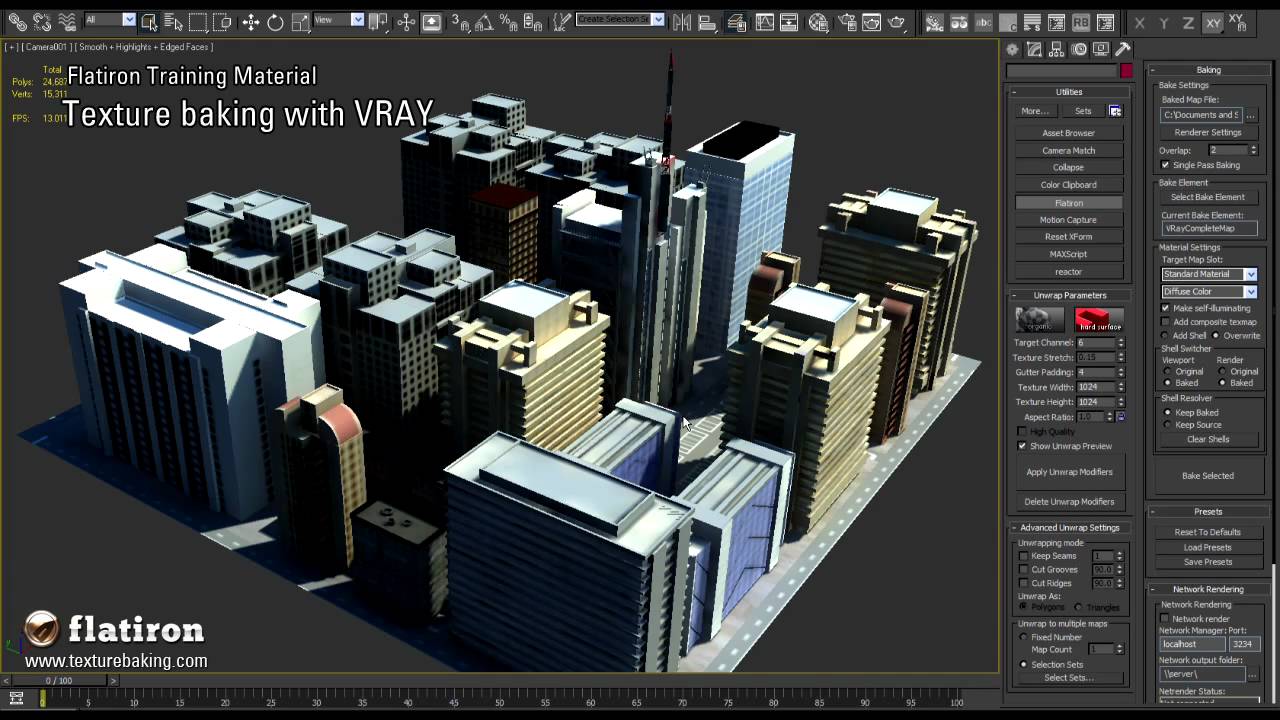
Baking With V-Ray
Producing optimized environments